Sure Natural
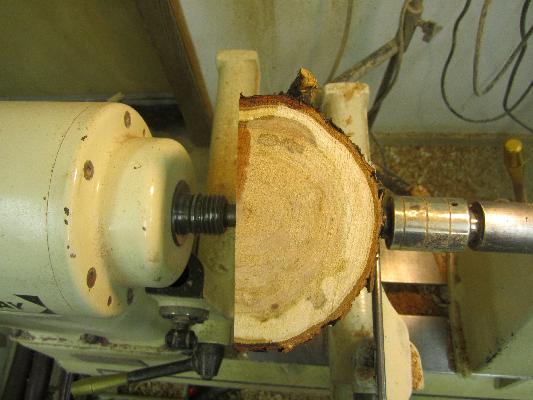
The basic, or standard, natural edge bowl has the inside of the bowl facing outward, essentially “through” the bark. This bowl has its top, or opening, toward the center of the tree. For your first effort, use a log which is only about 6″ in diameter. Cut a piece as long as it is wide and then cut it again from end to end through the center so you have two half logs.
Do not cut the blank round, keep it square, or even a bit longer than the width of the log. Mount a half log on a small faceplate or screw chuck on the flat side with the tailstock live center up against the round bark side of the bowl. You can also use a spur drive. This picture shows the half log mounted with the end facing the turner.
As usual, turn the outside of the bowl first, shaping the bottom with a tenon for later chucking and keeping the top edge flat and square. Leave a square face on the faceplate side at least a half inch thick.
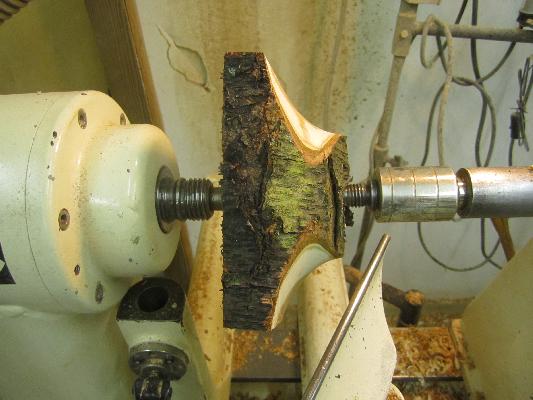
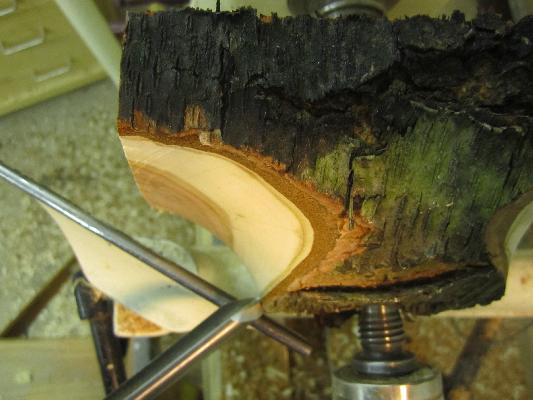
The picture to the right is how the bowl should now look on the lathe. The flat top is on the left and the bottom, which you are shaping, is on the right. As you continue to shape the bottom, be conscious of the thickness of the top square, leaving it at least 1/2″ thick for your roughed out bowl. Note in this picture on the left how the bevel of the bowl gouge is pointed directly up into the wood to cut along the outside of the bowl and then swing out toward yourself under the square top face. At this point, the outside of the bowl curves up and out. That is a good option and can be left that way once you cut away enough wood so the size of the bowl is distinct from the square top.
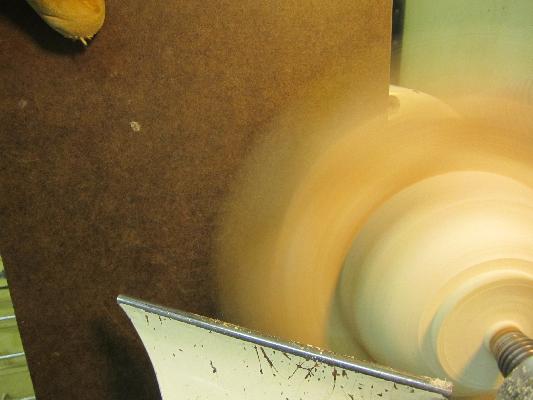
On the left, see how the corners of the square bowl spin around creating a ghost image. Do not get your fingers or other body parts near that ghost image or you will feel pain. Once the tenon is firmly embraced by the chuck, using a bowl gouge, flatten the top face and then remove wood from the inside of the bowl, taking care to keep the thickness of the sides of the bowl the same from top to near the bottom. The thickness of the sides should be the same as the thickness of the square part.
Remove bowl from chuck and reverse in a jam chuck to finish-shape the base of the bowl. Since it is jam-chucked, you will have to keep the tail stock live center up against it. Turn as far toward the center as you feel comfortable and then remove that little post in the center with a small saw or chisel.
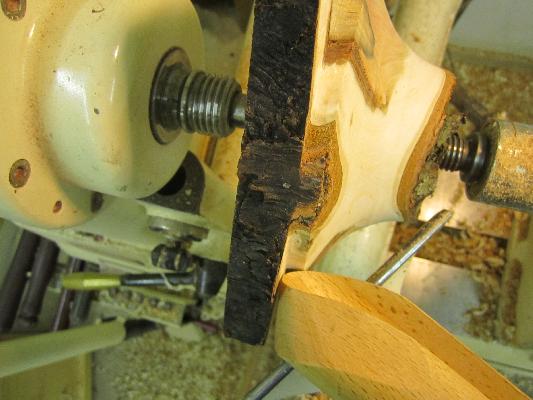
If roughing only, leave plenty of wood to accommodate changes in shape as it dries. Anchorseal and set aside for several months. If completing the bowl now, sand the outside after turning, the inside after turning, and the bottom after final shaping. Let dry, then varnish.
A variation in style is to flare the outside of the bowl up and out from the tenon and then shape the top and inside to match the outside shape. The top will look square looking down on it but from the sides, the square top will be high at the corners and lower between the corners, creating a very interesting effect.
When completing the base of the bowl, put a piece of waste wood on a faceplate or in a chuck and turn a jam chuck. Pad the jam chuck with a paper towel and place bowl over shaped wood, then bring up tailstock to hold in place. Turn and shape base of bowl, getting as close to center as practicable. This is best done using a live center which is tapered toward the bottom of the bowl. Sand as far as you can toward the center.
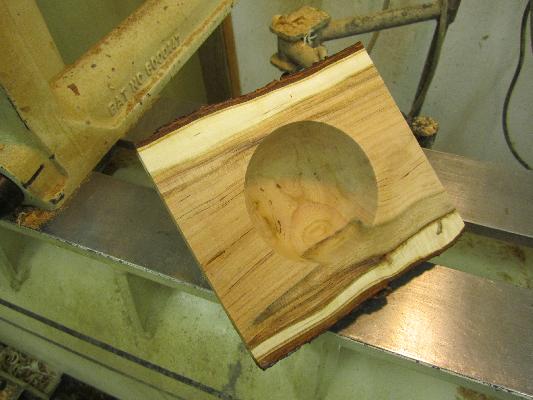
Remove the bowl from the jam chuck, remove the small tenon on bottom with a saw and carving tool or chisel, and sand base of bowl. Hand sand with the grain to remove sanding marks.
If you wish to let the bowl dry before completing it, turn it so the thickness of the sides is about 1/10th of the diameter of the bowl to ensure enough wood is left after it dries to re-round it. Apply a product like Anchorseal and let it dry, then store it for a year. Before Anchorsealing it, I always mark the bottom with the type of wood as well as month and year so I later know how long it has been drying. When dry, re-turn to round, then to final thickness, and finish as desired. Since a bowl will tend to change to oval as it dries and a standard natural edge bowl will always appear to be oval anyway, you may wish to turn your green wood bowl to final thickness and sand it to finish. Once completed, let it sit for a couple weeks before you finish it to let it dry more thoroughly. Then hand-sand it with the grain and apply whatever varnish or other finish you wish.
